
Ask ten people why they gave up on eyeliner and nine will say the same thing: the line never came out even. Almost always the problem is the formula, not the hand. A pencil, a liquid and a pen behave completely differently, and using the wrong one for the look you want makes an easy job hard.
Pencil: the forgiving one
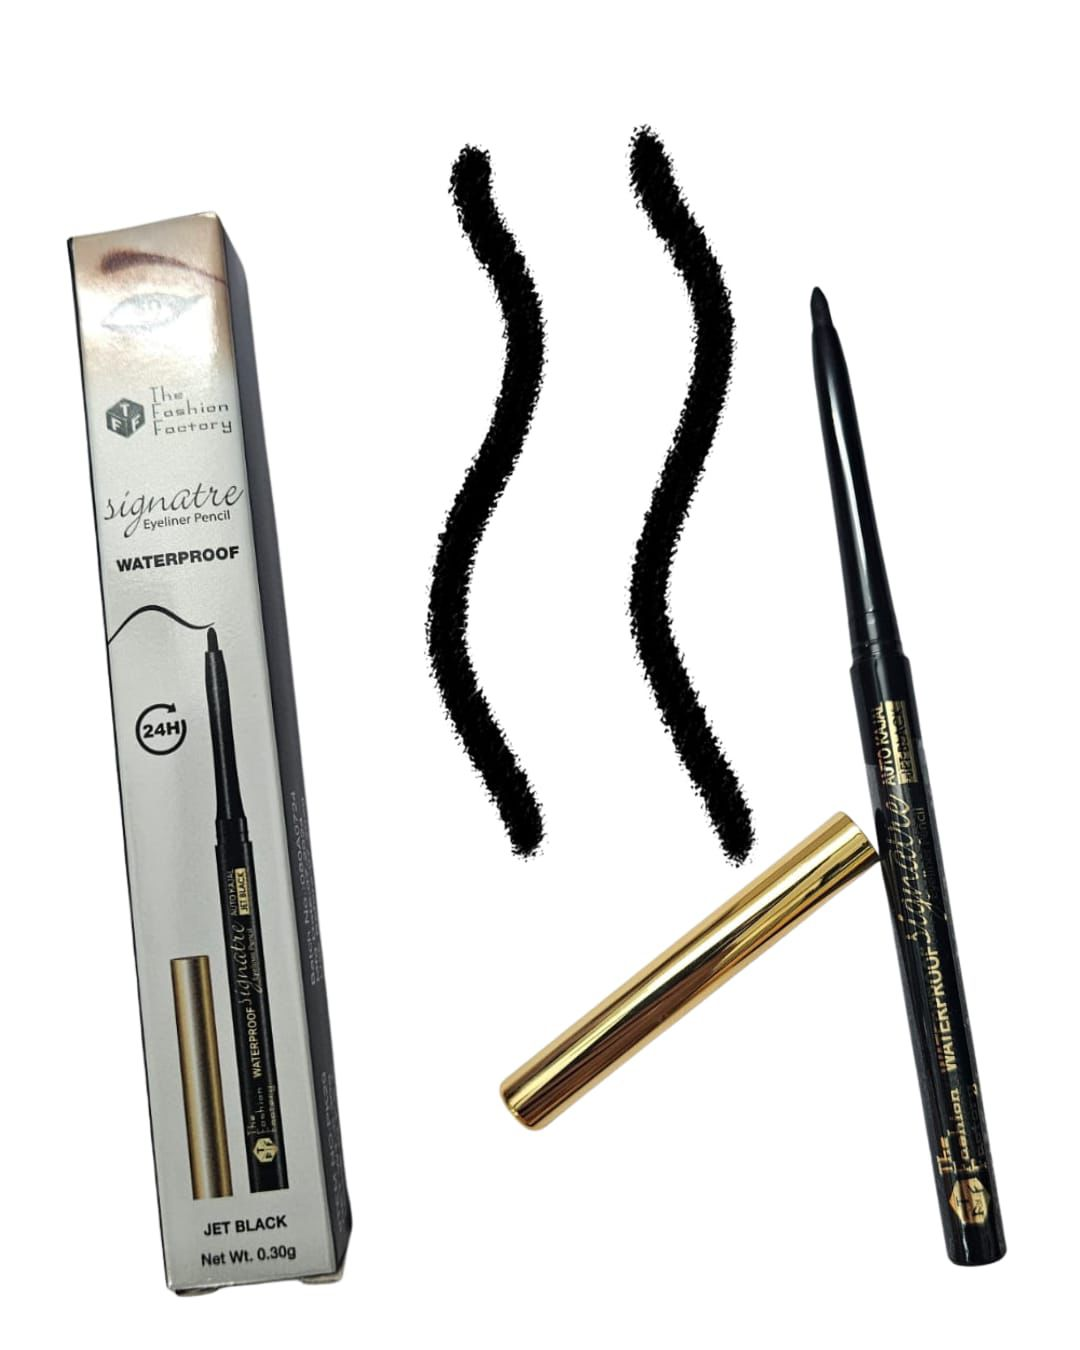
A kajal pencil is soft, waxy and slow. It goes on in short strokes rather than one continuous sweep, which means a shaky hand is not a problem - you simply join the dashes. It is the only formula safe for the waterline, and it is the only one you can smudge deliberately into a soft, lived-in line.
Best for: beginners, smoky eyes, tightlining, everyday wear, anyone with hooded lids who wants definition without a hard edge.
Watch out for: transfer. Set a pencil line with a matching dark eyeshadow pressed over it and it will hold for hours. The Signature Eyeliner Pencil / Kajal is the sort of do-everything pencil worth keeping in a handbag, because it can be a sharp line in the morning and smudged out by evening.
Pen: the precise one
A pen has a felt or brush tip and a fixed ink reservoir. You get a defined edge, a consistent depth of colour and, crucially, a tip that guides you. Because the tip has a shape, it does much of the work - press for a thicker line, use the very point for a tail.
Best for: winged liner, graphic lines, anyone who wants a black that stays black all day.
Watch out for: dry lids. Pens need a smooth, slightly matte surface. Blot the lid, dust a whisper of powder, then draw. A pen such as the Eyeliner Pen gives you the control of a brush without the mess of a pot.
Liquid: the dramatic one
Liquid liner with a fine brush applicator is the most pigmented and the most demanding. The payoff is a glossy, opaque line that no other formula matches, and a wing that can be as fine or as bold as you want. The cost is that mistakes show, and it takes a moment to dry.
Best for: sharp wings, high definition looks, photographs and events.
Watch out for: blinking too early. A super fine applicator like the Hi Tech Super Line Eyeliner makes the fine work easier, but you still need to hold the eye open for a few seconds while it sets.
The three step method that works for all of them
1. Anchor the outer corner first
Do not start at the inner corner. Draw the wing first, as a short line extending from the lower lash line towards the tail of the brow. Getting both wings at the same angle is the hard part, so do it while your hand is fresh.
2. Fill from the middle outward
Draw a line from the centre of the lash line to meet the wing, then fill in from the inner corner. Keep the line thinnest at the inner corner and thickest at the outer third.
3. Close the gaps
Look straight into a mirror with your eye open and you will see any patches where the liner sits above the lashes. Fill those with tiny strokes pushed down into the lash roots.
Making it last
- Prime or lightly powder the lid. Oil is what breaks a liner down.
- Let the line dry with the eye open, then blink.
- Set a pencil with powder shadow; do not powder over liquid or pen, which will dull the finish.
- Store pens tip down and cap them tightly so the felt does not dry out.
- Replace eye liners every 12 months, sooner if the texture changes.
So which should you buy?
If you own nothing, buy a pencil. It is the most versatile single product on any eye. Add a pen when you want a wing, and add liquid only when a pen no longer gives you the drama you are after. Most people are best served by owning a pencil and a pen and skipping liquid entirely.


